安装OpenClaw
运行安装脚本
OpenClaw 官方提供了一种安装脚本的方式来安装 OpenClaw:
注意:此步骤需要开发板能够访问互联网。
curl -fsSL https://openclaw.ai/install.sh | bash
效果:
 🦞 OpenClaw Installer
  If it works, it's automation; if it breaks, it's a "learning opportunity."

✓ Detected: linux

Install plan
OS: linux
Install method: npm
Requested version: latest

[1/3] Preparing environment
· Node.js not found, installing it now
· Installing Node.js via NodeSource
· Installing Linux build tools (make/g++/cmake/python3)
✓ Build tools installed
✓ Node.js v22 installed
· Active Node.js: v22.22.0 (/usr/bin/node)
· Active npm: 10.9.4 (/usr/bin/npm)

[2/3] Installing OpenClaw
✓ Git already installed
· Configuring npm for user-local installs
✓ npm configured for user installs
· Installing OpenClaw v2026.2.26
! npm install failed for openclaw@latest
  Command: env SHARP_IGNORE_GLOBAL_LIBVIPS=1 npm --loglevel error --silent --no-fund --no-audit install -g openclaw@latest
  Installer log: /tmp/tmp.AcFXhctNd1
! npm install failed; showing last log lines
! npm install failed; retrying
✓ OpenClaw npm package installed
✓ OpenClaw installed

[3/3] Finalizing setup

! PATH missing npm global bin dir: /home/bitbrick/.npm-global/bin
  This can make openclaw show as "command not found" in new terminals.
  Fix (zsh: ~/.zshrc, bash: ~/.bashrc):
    export PATH="/home/bitbrick/.npm-global/bin:$PATH"

🦞 OpenClaw installed successfully (2026.2.26)!
Cozy. I've already read your calendar. We need to talk.

· Starting setup


🦞 OpenClaw 2026.2.26 (bc50708) — Because Siri wasn't answering at 3AM.
安装完成之后,就会进入新手引导界面:
Starting setup
🦞 OpenClaw 2026.2.26 (bc50708) — Because Siri wasn't answering at 3AM.
▄▄▄▄▄▄▄▄▄▄▄▄▄▄▄▄▄▄▄▄▄▄▄▄▄▄▄▄▄▄▄▄▄▄▄▄▄▄▄▄▄▄▄▄▄▄▄▄▄▄▄▄
██░▄▄▄░██░▄▄░██░▄▄▄██░▀██░██░▄▄▀██░████░▄▄▀██░███░██
██░███░██░▀▀░██░▄▄▄██░█░█░██░█████░████░▀▀░██░█░█░██
██░▀▀▀░██░█████░▀▀▀██░██▄░██░▀▀▄██░▀▀░█░██░██▄▀▄▀▄██
▀▀▀▀▀▀▀▀▀▀▀▀▀▀▀▀▀▀▀▀▀▀▀▀▀▀▀▀▀▀▀▀▀▀▀▀▀▀▀▀▀▀▀▀▀▀▀▀▀▀▀▀
🦞 OPENCLAW 🦞
┌ OpenClaw onboarding
│
◇ Security ─────────────────────────────────────────────────────────────────────────────────╮
│ │
│ Security warning — please read. │
│ │
│ OpenClaw is a hobby project and still in beta. Expect sharp edges. │
│ By default, OpenClaw is a personal agent: one trusted operator boundary. │
│ This bot can read files and run actions if tools are enabled. │
│ A bad prompt can trick it into doing unsafe things. │
│ │
│ OpenClaw is not a hostile multi-tenant boundary by default. │
│ If multiple users can message one tool-enabled agent, they share that delegated tool │
│ authority. │
│ │
│ If you’re not comfortable with security hardening and access control, don’t run │
│ OpenClaw. │
│ Ask someone experienced to help before enabling tools or exposing it to the internet. │
│ │
│ Recommended baseline: │
│ - Pairing/allowlists + mention gating. │
│ - Multi-user/shared inbox: split trust boundaries (separate gateway/credentials, ideally │
│ separate OS users/hosts). │
│ - Sandbox + least-privilege tools. │
│ - Shared inboxes: isolate DM sessions (`session.dmScope: per-channel-peer`) and keep │
│ tool access minimal. │
│ - Keep secrets out of the agent’s reachable filesystem. │
│ - Use the strongest available model for any bot with tools or untrusted inboxes. │
│ │
│ Run regularly: │
│ openclaw security audit --deep │
│ openclaw security audit --fix │
│ │
�│ Must read: https://docs.openclaw.ai/gateway/security │
│ │
├────────────────────────────────────────────────────────────────────────────────────────────╯
│
◆ I understand this is personal-by-default and shared/multi-user use requires lock-down. Continue?
│ ● Yes / ○ No
└
基础配置
在新手引导界面种,我们需要进行一些基础的配置来让 OpenClaw 能够正常使用,其他的都可以后续再进行更改。
操作说明
在引导页面操作主要依靠键盘的上下左右键来进行选择,空格选中,回车键来确认选择。
同意风险
选择 Yes,回车确认。
◆  I understand this is powerful and inherently risky. Continue?
│  ● Yes / ○ No
└
选择快速开始
选择 QuickStart,回车确认。
◆  Onboarding mode
│  ● QuickStart (Configure details later via openclaw configure.)
│  ○ Manual
└
选择模型
这里我们可以直接跳过模型的配置,后续通过 OpenClaw模型API配置 这个文档来进行配置,所以选择 Skip for now,回车确认。
◆  Model/auth provider
│  ○ OpenAI
│  ○ Anthropic
│  ○ Chutes
│  ○ vLLM
│  ○ MiniMax
│  ○ Moonshot AI (Kimi K2.5)
│  ○ Google
│  ○ xAI (Grok)
│  ○ Mistral AI
│  ○ Volcano Engine
│  ○ BytePlus
│  ○ OpenRouter
│  ○ Kilo Gateway
│  ○ Qwen
│  ○ Z.AI
│  ○ Qianfan
│  ○ Copilot
│  ○ Vercel AI Gateway
│  ○ OpenCode Zen
│  ○ Xiaomi
│  ○ Synthetic
│  ○ Together AI
│  ○ Hugging Face
│  ○ Venice AI
│  ○ LiteLLM
│  ○ Cloudflare AI Gateway
│  ○ Custom Provider
│  ● Skip for now
模型供应商选择所有供应商:
Filter models by provider
│  ● All providers
│  ○ amazon-bedrock
│  ○ anthropic
│  ○ azure-openai-responses
│  ○ cerebras
│  ○ github-copilot
│  ○ google
│  ○ google-antigravity
│  ○ google-gemini-cli
│  ○ google-vertex
│  ○ groq
│  ○ huggingface
│  ○ kimi-coding
│  ○ minimax
│  ○ minimax-cn
│  ○ mistral
│  ○ openai
│  ○ openai-codex
│  ○ opencode
│  ○ openrouter
│  ○ vercel-ai-gateway
│  ○ xai
│  ○ zai
默认模型,我们选择保持不动即可,后面详细配置里面会进行修改:
◆  Default model
│  ● Keep current (default: anthropic/claude-opus-4-6)
└
通道配置
在 OpenClaw 中通道(Channel)是连接用户与 AI 助手的桥梁,配置通道可以让用户通过熟悉的通讯平台与 OpenClaw 进行交��互(发送消息)。
这里我们可以直接跳过配置,后续通过 OpenClaw飞书通道配置 这个文档来进行配置,所以选择 Skip for now,回车确认。
◆  Select channel (QuickStart)
│  ○ Telegram (Bot API)
│  ○ WhatsApp (QR link)
│  ○ Discord (Bot API)
│  ○ IRC (Server + Nick)
│  ○ Google Chat (Chat API)
│  ○ Slack (Socket Mode)
│  ○ Signal (signal-cli)
│  ○ iMessage (imsg)
│  ○ Feishu/Lark (飞书)
│  ○ Nostr (NIP-04 DMs)
│  ○ Microsoft Teams (Bot Framework)
│  ○ Mattermost (plugin)
│  ○ Nextcloud Talk (self-hosted)
│  ○ Matrix (plugin)
│  ○ BlueBubbles (macOS app)
│  ○ LINE (Messaging API)
│  ○ Zalo (Bot API)
│  ○ Zalo (Personal Account)
│  ○ Synology Chat (Webhook)
│  ○ Tlon (Urbit)
│  ● Skip for now (You can add channels later via `openclaw channels add`)
配置Skills
选择 yes 配置,可以选择你需要的Skills 也可以跳过,我们之后可以通过对话的方式,让 OpenClaw 自己配置自己的 Skills 不需要我们自己动手:
Configure skills now? (recommended)
│  Yes
│
◆  Install missing skill dependencies
│  ◻ Skip for now (Continue without installing dependencies)
│  ◻ 🔐 1password
│  ◻ 📰 blogwatcher
│  ◻ 🫐 blucli
│  ◻ 📸 camsnap
│  ◻ 🧩 clawhub
│  ◻ 🎛️ eightctl
│  ◻ ♊️ gemini
│  ◻ 🧲 gifgrep
│  ◻ 🐙 github
│  ◻ 🎮 gog
│  ◻ 📍 goplaces
│  ◻ 📧 himalaya
│  ◻ 📦 mcporter
│  ◻ 🍌 nano-banana-pro
│  ◻ 📄 nano-pdf
│  ◻ 💎 obsidian
│  ◻ 🎙️ openai-whisper
│  ◻ 💡 openhue
│  ◻ 🧿 oracle
│  ◻ 🛵 ordercli
│  ◻ 🗣️ sag
│  ◻ 🌊 songsee
│  ◻ 🔊 sonoscli
│  ◻ 🧾 summarize
│  ◻ 📱 wacli
│  ◻ 𝕏 xurl
└
相关的KEY配置
全部选择 No:
 Set GOOGLE_PLACES_API_KEY for goplaces?
│  No
│
◇  Set GEMINI_API_KEY for nano-banana-pro?
│  No
│
◇  Set NOTION_API_KEY for notion?
│  No
│
◇  Set OPENAI_API_KEY for openai-image-gen?
│  No
│
◇  Set OPENAI_API_KEY for openai-whisper-api?
│  No
│
◇  Set ELEVENLABS_API_KEY for sag?
│  No
│
hook配置
将所有的配置全部使用空格选中,然后回车确认:
◇  Hooks ──────────────────────────────────────────────────────────────────╮
│                                                                          │
│  Hooks let you automate actions when agent commands are issued.          │
│  Example: Save session context to memory when you issue /new or /reset.  │
│                                                                          │
│  Learn more: https://docs.openclaw.ai/automation/hooks                   │
│                                                                          │
├──────────────────────────────────────────────────────────────────────────╯
│
◆  Enable hooks?
│  ◻ Skip for now
│  ◼ 🚀 boot-md (Run BOOT.md on gateway startup)
│  ◼ 📎 bootstrap-extra-files (Inject additional workspace bootstrap files via glob/path patterns)
│  ◼ 📝 command-logger (Log all command events to a centralized audit file)
│  ◼ 💾 session-memory (Save session context to memory when /new or /reset command is issued)
完成安装
◇ Systemd ────────────────────────────────────────────────────────────────────────────────╮
│ │
│ Linux installs use a systemd user service by default. Without lingering, systemd stops │
│ the user session on logout/idle and kills the Gateway. │
│ Enabling lingering now (may require sudo; writes /var/lib/systemd/linger). │
│ │
├──────────────────────────────────────────────────────────────────────────────────────────╯
│
◇ Systemd ─────────────────────────────────╮
│ │
│ Enabled systemd lingering for bitbrick. │
│ │
├───────────────────────────────────────────╯
│
◇ Gateway service runtime ────────────────────────────────────────────╮
│ │
│ QuickStart uses Node for the Gateway service (stable + supported). │
│ │
├──────────────────────────────────────────────────────────────────────╯
│
◒ Installing Gateway service….
Installed systemd service: /home/bitbrick/.config/systemd/user/openclaw-gateway.service
◇ Gateway service installed.
│
◇
Agents: main (default)
Heartbeat interval: 30m (main)
Session store (main): /home/bitbrick/.openclaw/agents/main/sessions/sessions.json (0 entries)
│
◇ Optional apps ────────────────────────╮
│ │
│ Add nodes for extra features: │
│ - macOS app (system + notifications) │
│ - iOS app (camera/canvas) │
│ - Android app (camera/canvas) │
│ │
├──────��──────────────────────────────────╯
│
◇ Control UI ─────────────────────────────────────────────────────────────────────╮
│ │
│ Web UI: http://127.0.0.1:18789/ │
│ Web UI (with token): │
│ http://127.0.0.1:18789/#token=d26f9eae39cfaf6ec8f481acf8ef8182a70b6f48541b148a │
│ Gateway WS: ws://127.0.0.1:18789 │
│ Gateway: reachable │
│ Docs: https://docs.openclaw.ai/web/control-ui │
│ │
├──────────────────────────────────────────────────────────────────────────────────╯
│
◇ Start TUI (best option!) ─────────────────────────────────╮
│ │
│ This is the defining action that makes your agent you. │
│ Please take your time. │
│ The more you tell it, the better the experience will be. │
│ We will send: "Wake up, my friend!" │
│ │
├────────────────────────────────────────────────────────────╯
│
◇ Token ─────────────��────────────────────────────────────────────────────────────────────╮
│ │
│ Gateway token: shared auth for the Gateway + Control UI. │
│ Stored in: ~/.openclaw/openclaw.json (gateway.auth.token) or OPENCLAW_GATEWAY_TOKEN. │
│ View token: openclaw config get gateway.auth.token │
│ Generate token: openclaw doctor --generate-gateway-token │
│ Web UI stores a copy in this browser's localStorage (openclaw.control.settings.v1). │
│ Open the dashboard anytime: openclaw dashboard --no-open │
│ If prompted: paste the token into Control UI settings (or use the tokenized dashboard │
│ URL). │
│ │
├─────────────────────────────────────────────────────────────────────────────────────────╯
│
◆ How do you want to hatch your bot?
│ ○ Hatch in TUI (recommended)
│ ○ Open the Web UI
│ ● Do this later
└
访问UI界面
想要访问 OpenClaw 的UI界面,我们需要设置两个配置参数,才能在局域网内进行访问:
如果没有
openclaw命令,可以先执行source ~/.bashrc来加载环境变量。可以使用
openclaw help来查看openclaw命令的使用说明。
# 1. 设定网络访问模式为 LAN
openclaw config set gateway.bind lan

# 2. 设定HTTP访问降级为 true,允许不安全的HTTP访问(如果不设置这个参数,默认是禁止HTTP访问的)
openclaw config set gateway.controlUi.allowInsecureAuth true
openclaw config set gateway.controlUi.dangerouslyDisableDeviceAuth true
openclaw config set gateway.controlUi.dangerouslyAllowHostHeaderOriginFallback true

# 3. 重启 OpenClaw gateway 使配置生效
openclaw gateway restart
openclaw config set gateway.bind lan

🦞 OpenClaw 2026.2.26 (bc50708) — Less clicking, more shipping, fewer "where did that file go" moments.

Config overwrite: /home/bitbrick/.openclaw/openclaw.json (sha256 b06c46ae724c004b20c13f6732880f404385b83d4c8f4b02ef9a903b1b47e416 -> ce0ec749b920af4242ccee42363283dcd766ea207c551db33202329cede7036e, backup=/home/bitbrick/.openclaw/openclaw.json.bak)
Updated gateway.bind. Restart the gateway to apply.


openclaw config set gateway.controlUi.allowInsecureAuth true

🦞 OpenClaw 2026.2.26 (bc50708) — I'll butter your workflow like a lobster roll: messy, delicious, effective.

Config overwrite: /home/bitbrick/.openclaw/openclaw.json (sha256 cde7ca8e2611dcca9d10dcdb7e5a40a4d1a1cf215d4c091010e0d8035365c2fb -> cfe634c0ae210236015c26c1f86fa1332b6f24efff91f7313a61d87cff0f399e, backup=/home/bitbrick/.openclaw/openclaw.json.bak)
Updated gateway.controlUi.allowInsecureAuth. Restart the gateway to apply.

openclaw config set gateway.controlUi.dangerouslyDisableDeviceAuth true

🦞 OpenClaw 2026.2.26 (bc50708) — I'm like tmux: confusing at first, then suddenly you can't live without me.

Config overwrite: /home/bitbrick/.openclaw/openclaw.json (sha256 cfe634c0ae210236015c26c1f86fa1332b6f24efff91f7313a61d87cff0f399e -> 3224dd49453850d100f209f2f2da40da2a45acd627ef34bf8354424a72adb005, backup=/home/bitbrick/.openclaw/openclaw.json.bak)
Updated gateway.controlUi.dangerouslyDisableDeviceAuth. Restart the gateway to apply.
openclaw config set gateway.controlUi.dangerouslyAllowHostHeaderOriginFallback true

🦞 OpenClaw 2026.2.26 (bc50708) — Less middlemen, more messages.

Config overwrite: /home/bitbrick/.openclaw/openclaw.json (sha256 3224dd49453850d100f209f2f2da40da2a45acd627ef34bf8354424a72adb005 -> 51ee85ae2267767649ba4800e7202d06181206ac649daf29164049634609b36a, backup=/home/bitbrick/.openclaw/openclaw.json.bak)
Updated gateway.controlUi.dangerouslyAllowHostHeaderOriginFallback. Restart the gateway to apply.


openclaw gateway restart

🦞 OpenClaw 2026.2.26 (bc50708) — Your .env is showing; don't worry, I'll pretend I didn't see it.

Restarted systemd service: openclaw-gateway.service
使用以下命令查看局域网内查看 OpenClaw 的 UI 访问地址 Dashboard URL:
openclaw dashboard

🦞 OpenClaw 2026.2.26 (bc50708) — Works on Android. Crazy concept, we know.

Dashboard URL: http://127.0.0.1:18789/#token=d26f9eae39cfaf6ec8f481acf8ef8182a70b6f48541b148a
Copy to clipboard unavailable.
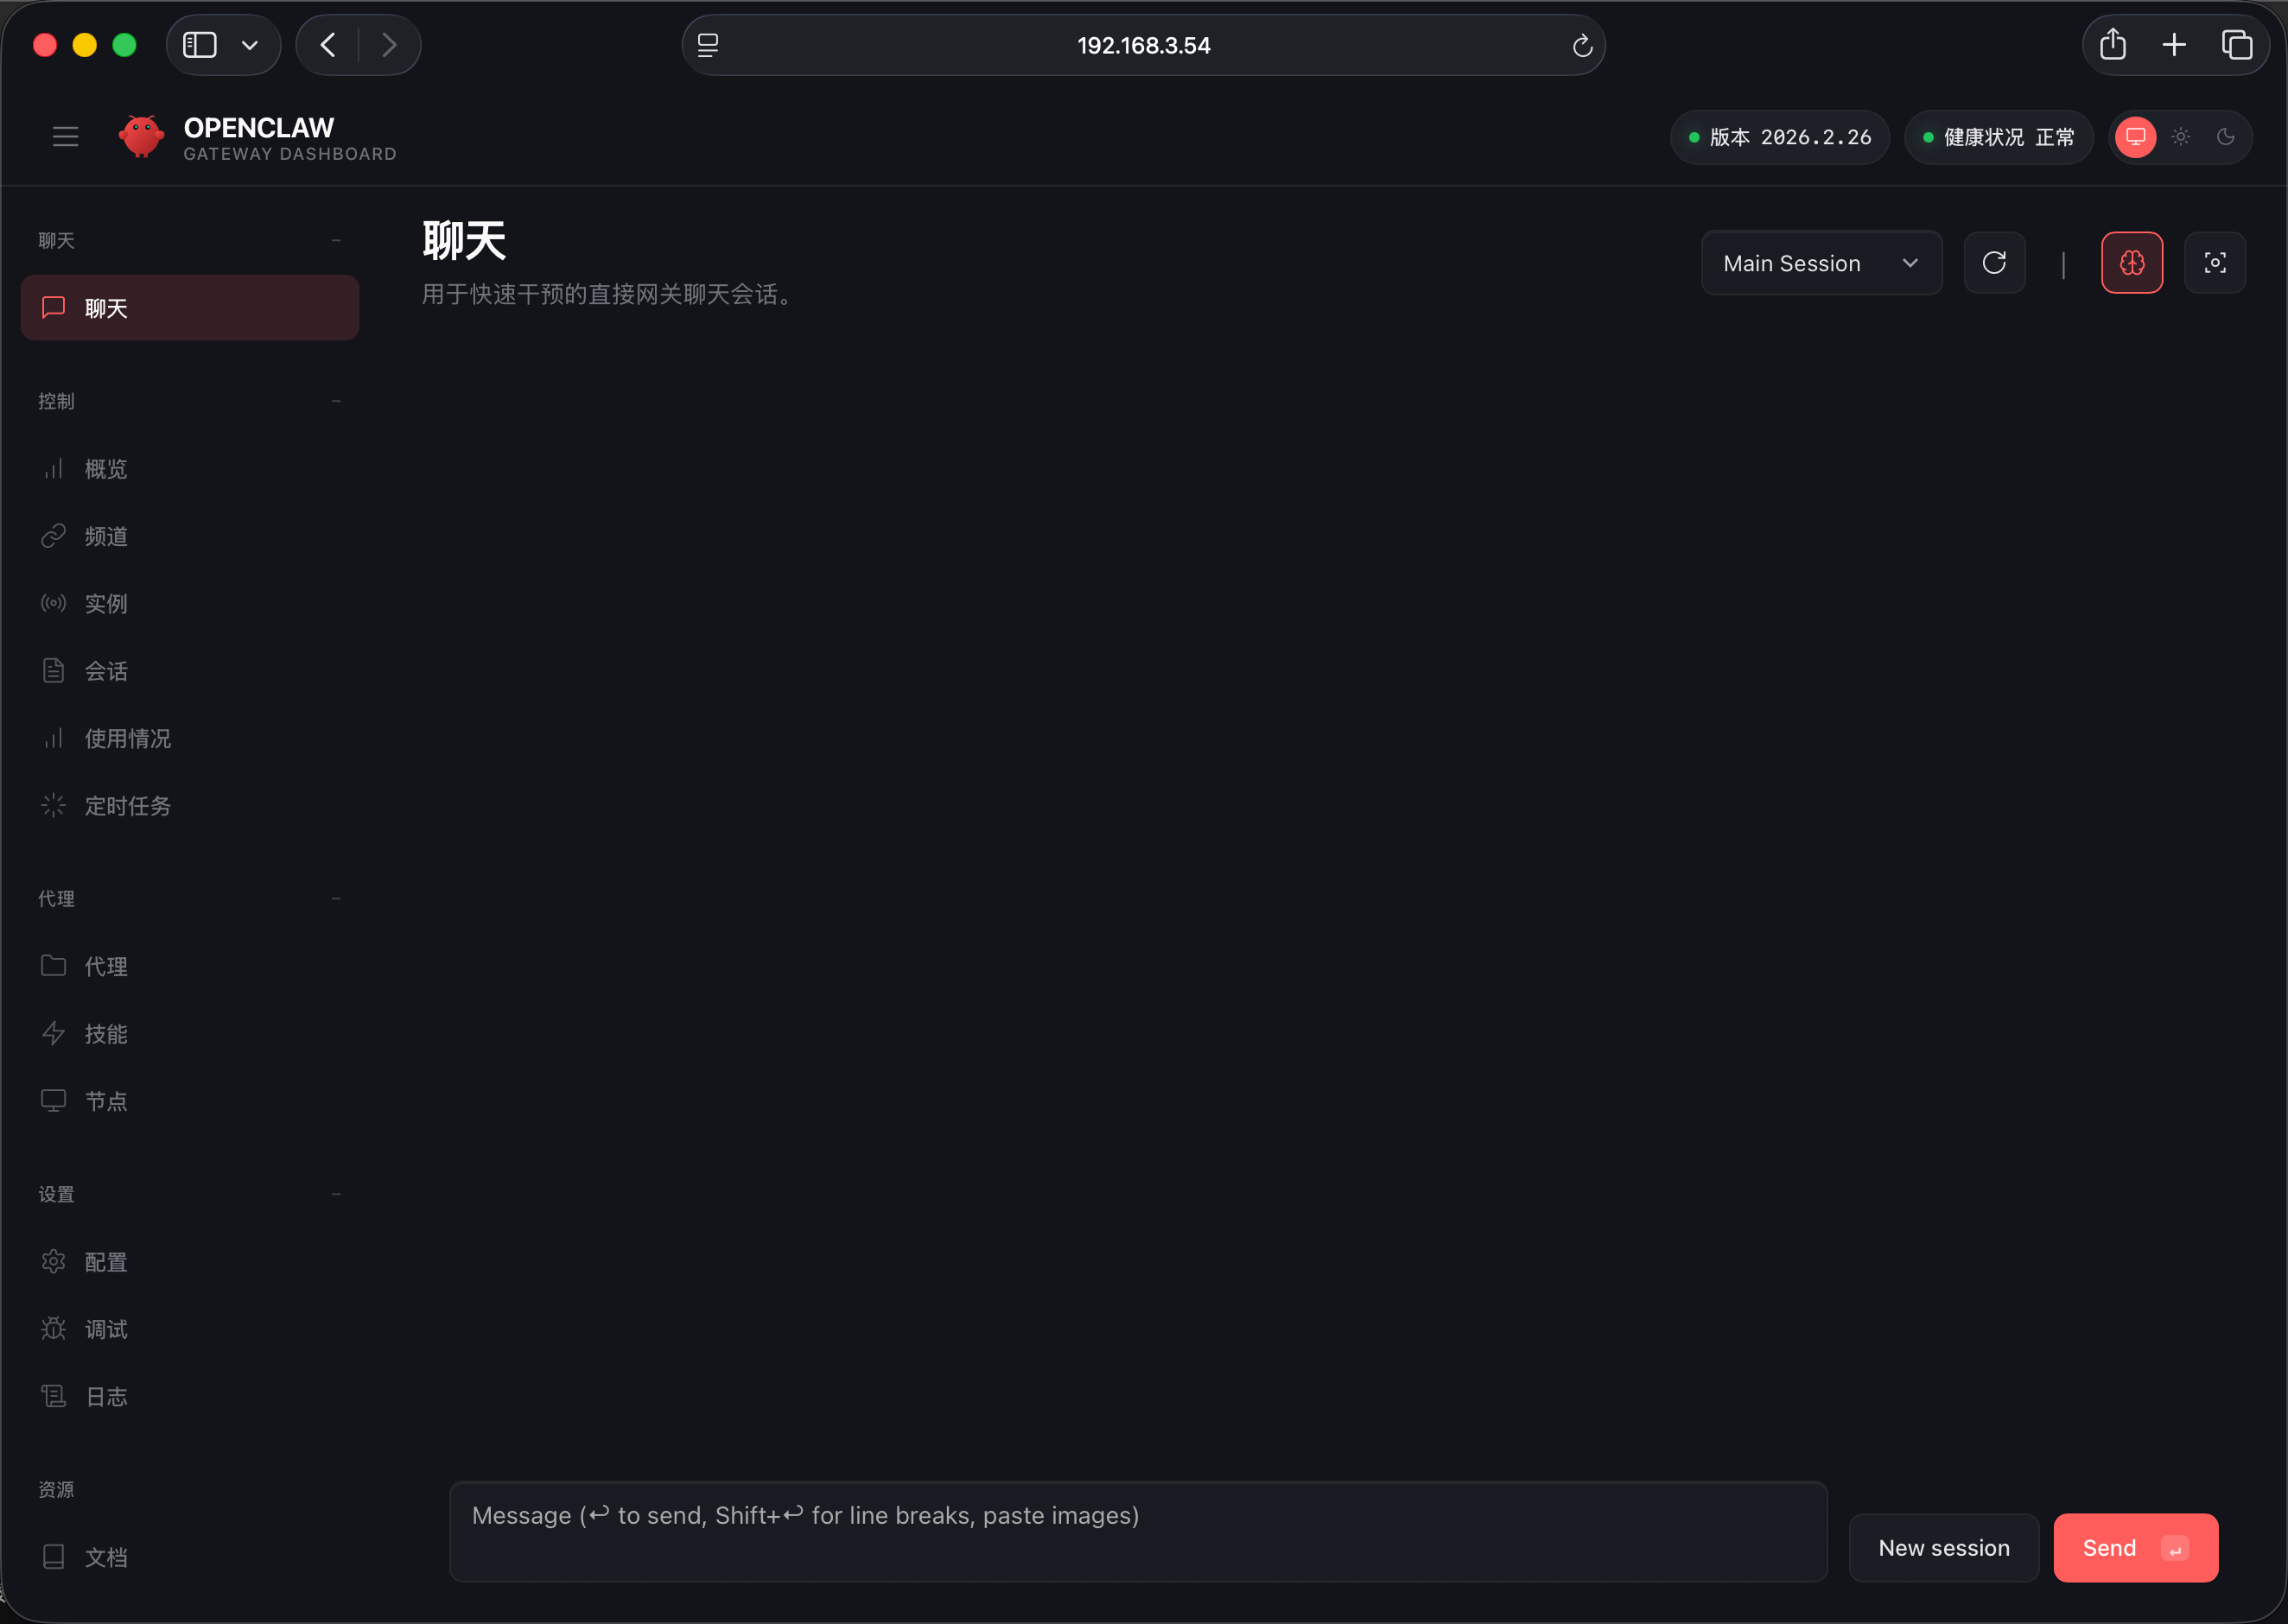
访问地址一般是 http://<开发板IP地址>:18789/#token=<token>,在浏览器中输入这个地址就可以访问 OpenClaw 的UI界面了:
- 使用
ifconfig命令可以查看<开发板IP地址>,替换掉原本的127.0.0.1就可以在局域网内访问了。<token>是一个访问令牌,用于验证用户的访问权限,确保只有授权用户才能访问OpenClaw的UI界面。每次安装或者重置OpenClaw之后,这个token都会发生变化,所以需要使用最新的token来访问UI界面。我们使用openclaw dashboard命令获取的访问地址就是包含了最新token的地址,可以直接使用这个地址来访问UI界面。
http://192.168.3.54:18789/#token=af94e258639978672caef32fd1366c4466b1c100eceae38e