
Getting Started Guide
If you are getting the BIT-BRICK K1 single-board computer for the first time, we recommend that you read our getting started guide first, which will allow you to quickly understand the basic features of the K1 single-board computer and have a preliminary experience. Before you start using the K1 single-board computer, you need to prepare the following things:
- Power adapter
- Micro SD card
- TYPEC USB cable
- HDMI-supported monitor
- HDMI cable
- Keyboard and mouse
- USB to serial debugging cable
- NVME 2280 solid-state drive
If you don't need a display interface, you may only need a power adapter and an SD card. You can connect the K1 to your computer through an Ethernet cable or a USB serial debugging cable and operate the device through a terminal tool.
1.1 Power Adapter
The overall power consumption of the K1 single-board computer is about 2W without some peripherals. However, we recommend that you use a 10W or higher power adapter (of course, you can also power the K1 through the USB port of your computer). Since the K1 single-board computer uses TYPEC as the power port, you need a TYPEC USB cable.
| Product Model | Recommended Parameters | Reference Product |
|---|---|---|
| Power Adapter | 5V/2A or a version with a larger current | 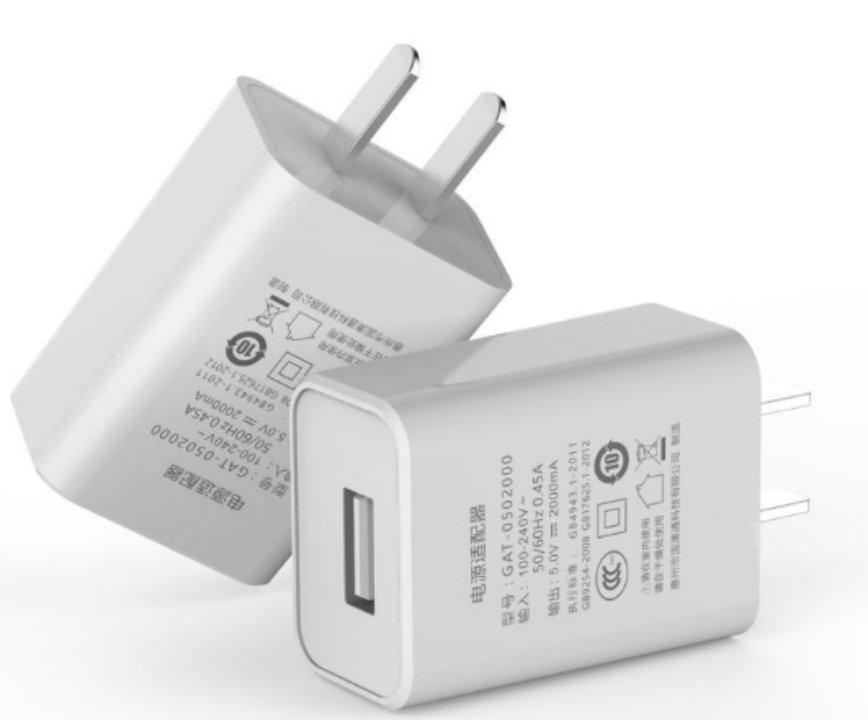 |
| USB TYPE C Cable | Choose the length according to your needs |  |
The power adapter must be 5V/2A or higher, otherwise the K1 may not work properly.
1.2 Micro SD Card
The K1 single-board computer does not integrate an EMMC FLASH, so we need to use external storage as the medium for firmware storage. Although the system can support booting from a solid-state drive, we still recommend using a Micro SD card as the firmware storage medium for the first time. After following the steps to burn the firmware below, you can directly insert the card into the Micro SD card socket of the K1. We recommend that the Micro SD card be at least 32GB or larger.
| Product Model | Recommended Parameters | Reference Product |
|---|---|---|
| Micro SD Card | 32GB or larger capacity | 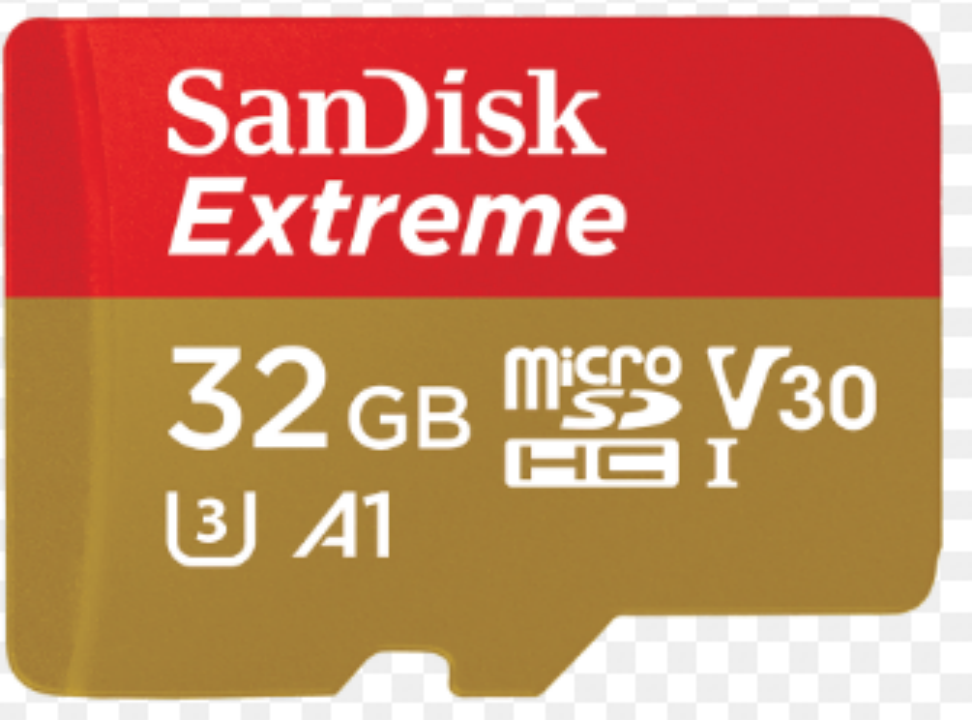 |
1.3 Display, Mouse, and Keyboard
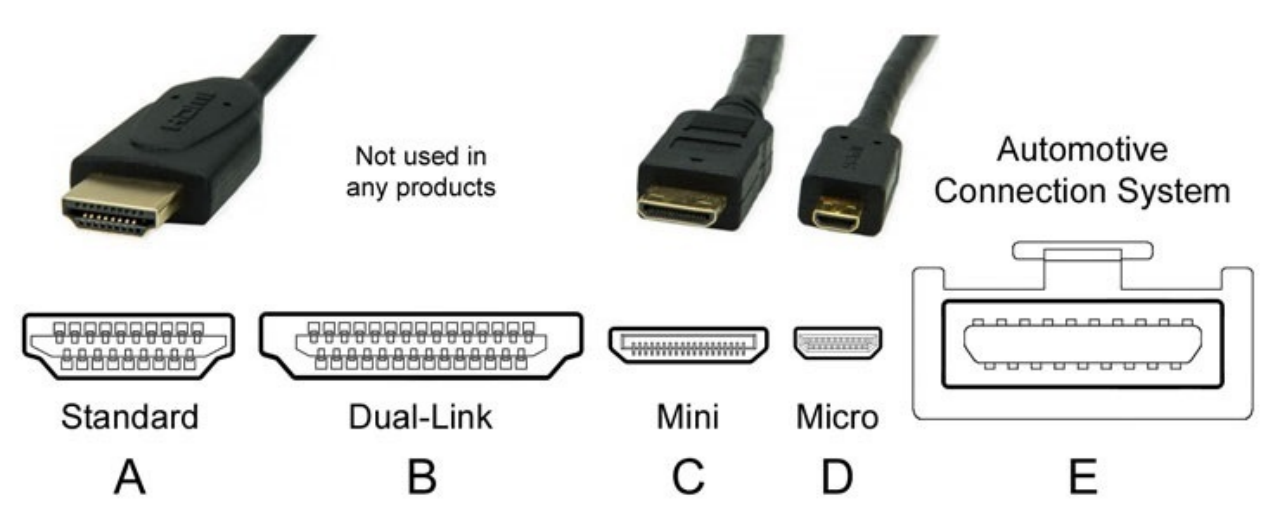
If you want to use the K1 as an entry-level desktop system, you also need to prepare an HDMI screen, a usb mouse and a usb keyboard for it. You can use a regular computer monitor, as most monitors support HDMI. The same goes for the mouse and keyboard, as mainstream mouses and keyboards are plug-and-play. You may need to confirm that the HDMI cable connected to the motherboard end must be of Type A. If you are not familiar with the HDMI interface type, you can refer to the following information:
| Product Model | Recommended Parameters | Reference Product |
|---|---|---|
| LCD Monitor | 1920*1080 resolution is optimal | 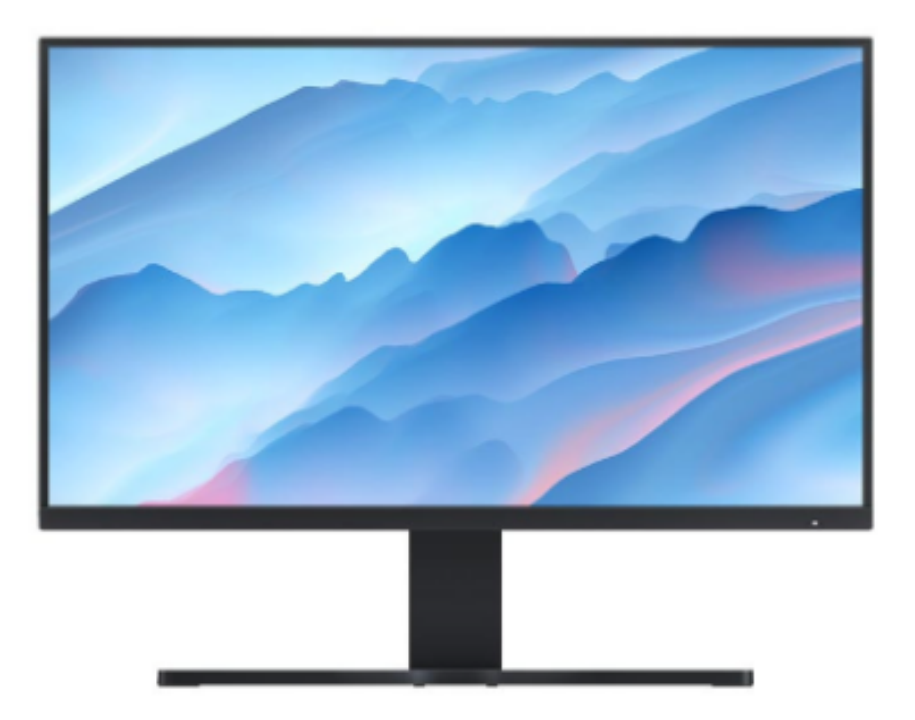 |
| Mouse | Universal | 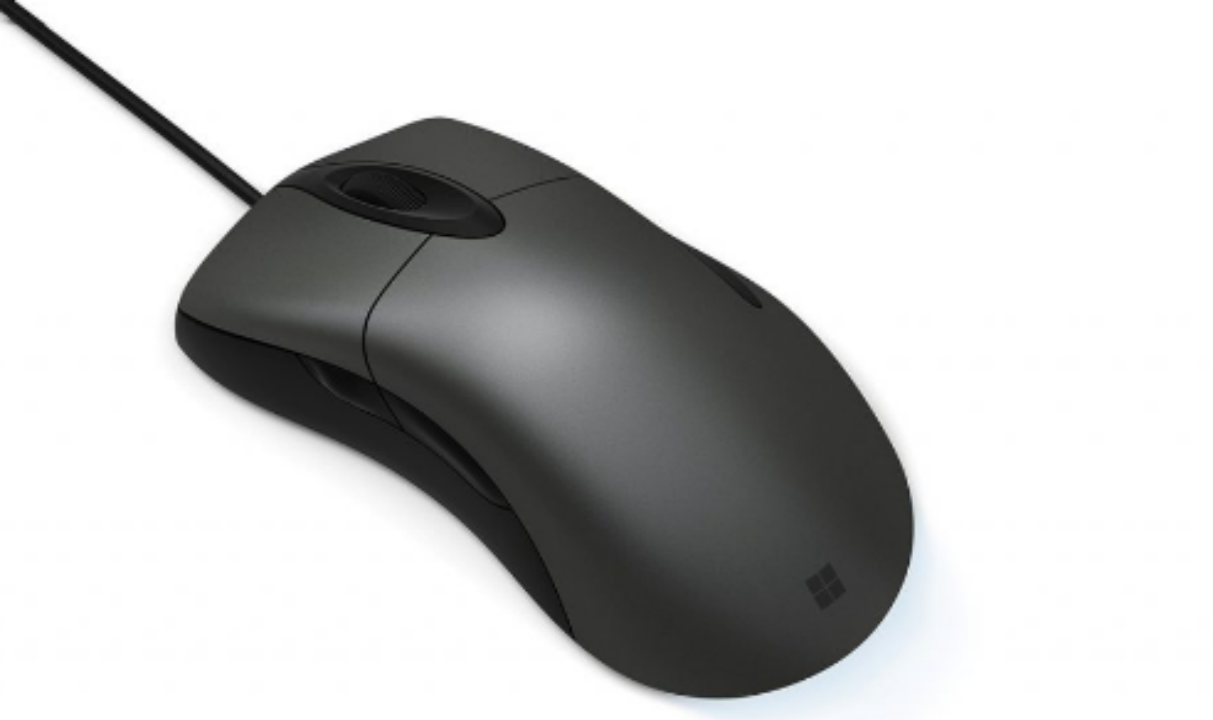 |
| Keyboard | Universal | 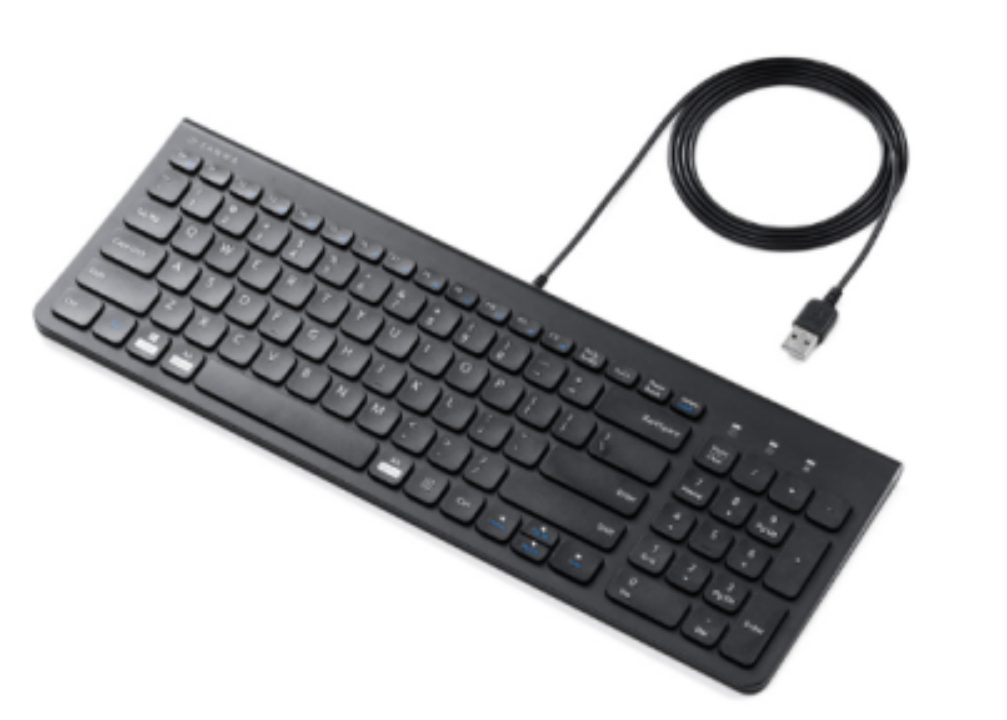 |
| HDMI Data Cable | Universal | 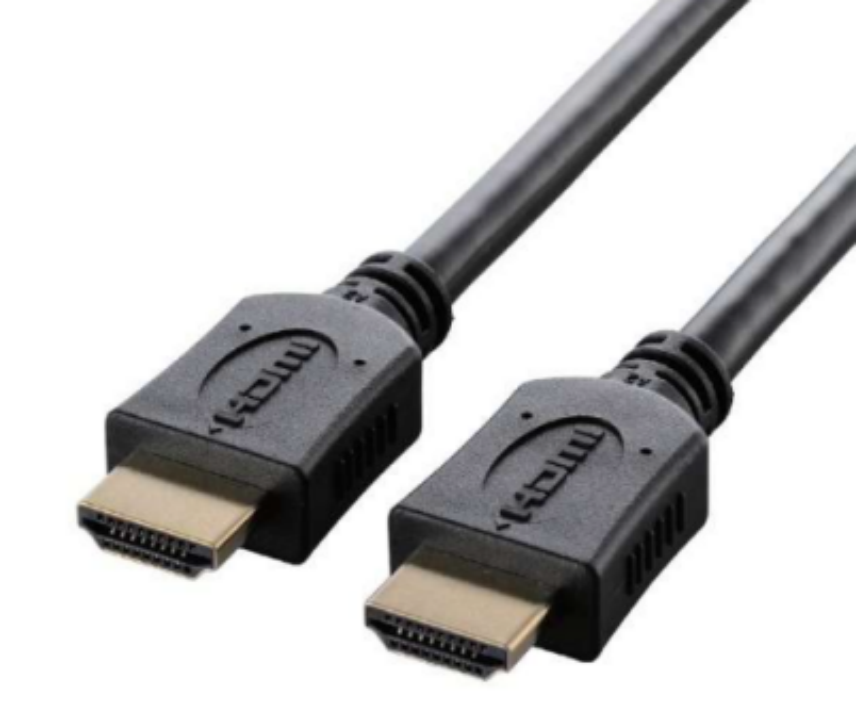 |
1.4 Network
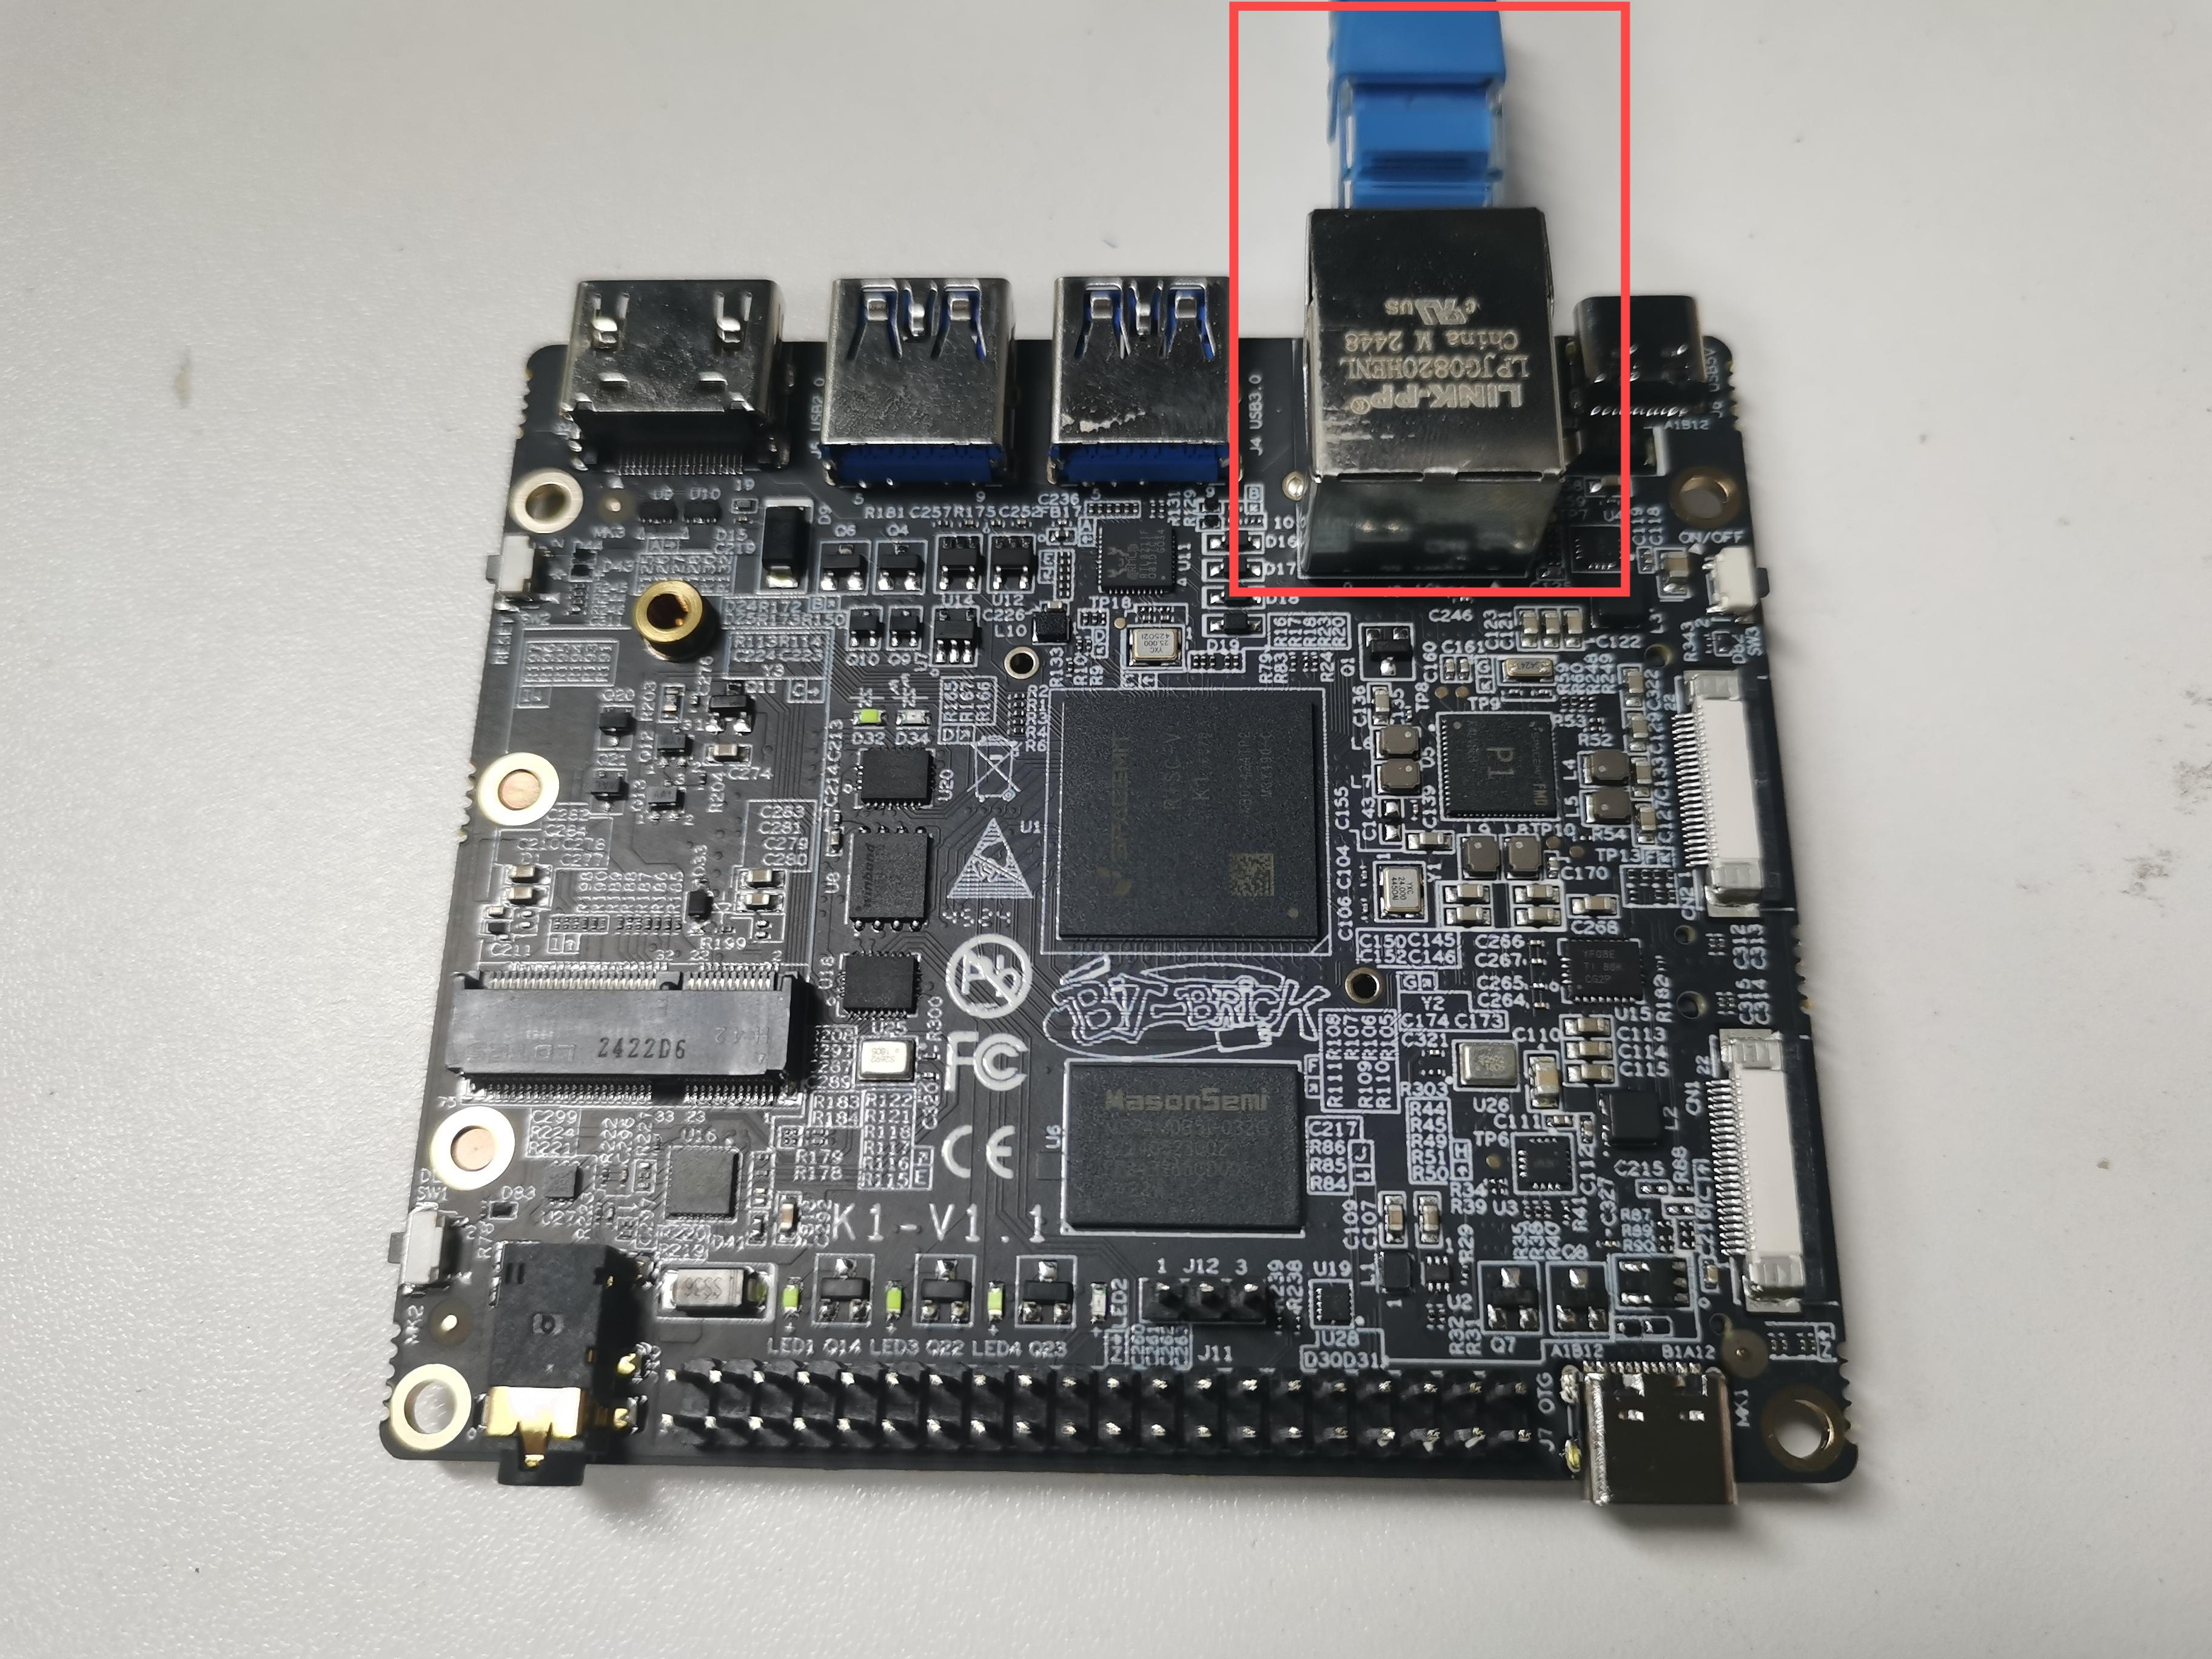
The K1 single-board computer supports Gigabit Ethernet by default. If you want to use a wireless network, you need to connect an external wireless module. We recommend that you prioritize using a wired network, as there is no wireless network card configured by default. The network connection diagram is as follows:
1.5 Debugging
The K1 single-board computer reserves a serial port for deep learning debugging. This serial port can only support TTL levels. Therefore, if your computer only has a USB port, you need a USB to serial port device to use it:
| Product Model | Recommended Parameters | Reference Product |
|---|---|---|
| USB to Serial | USB to TTL | 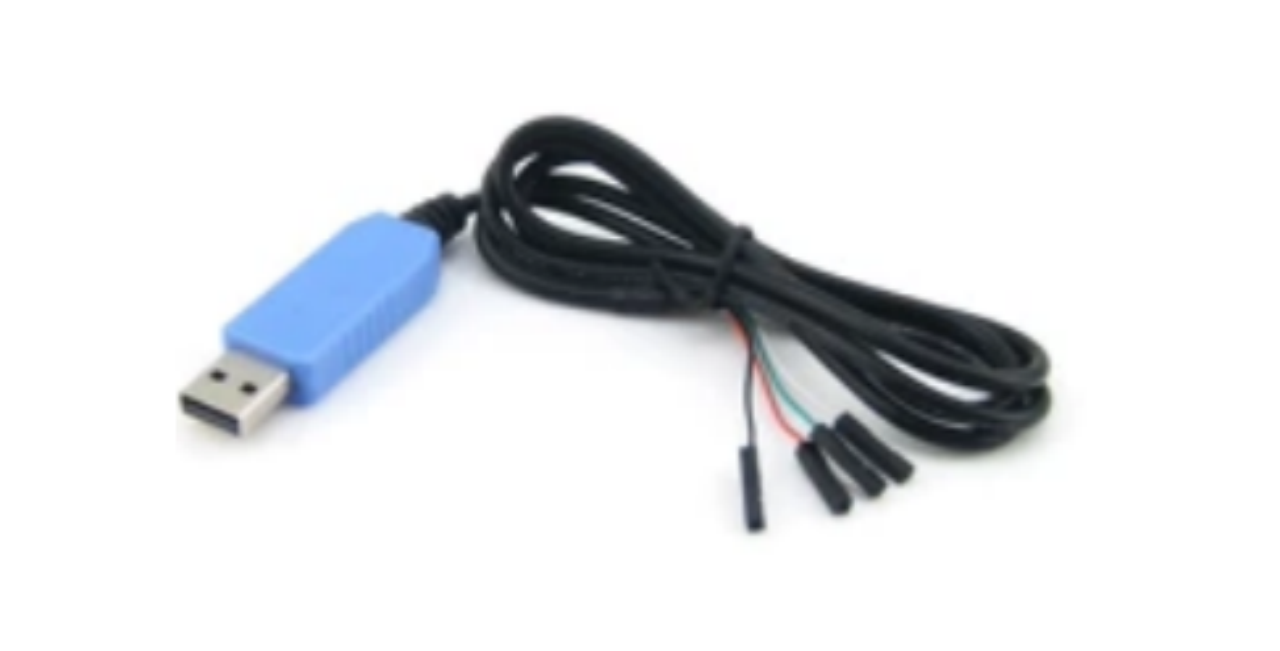 |
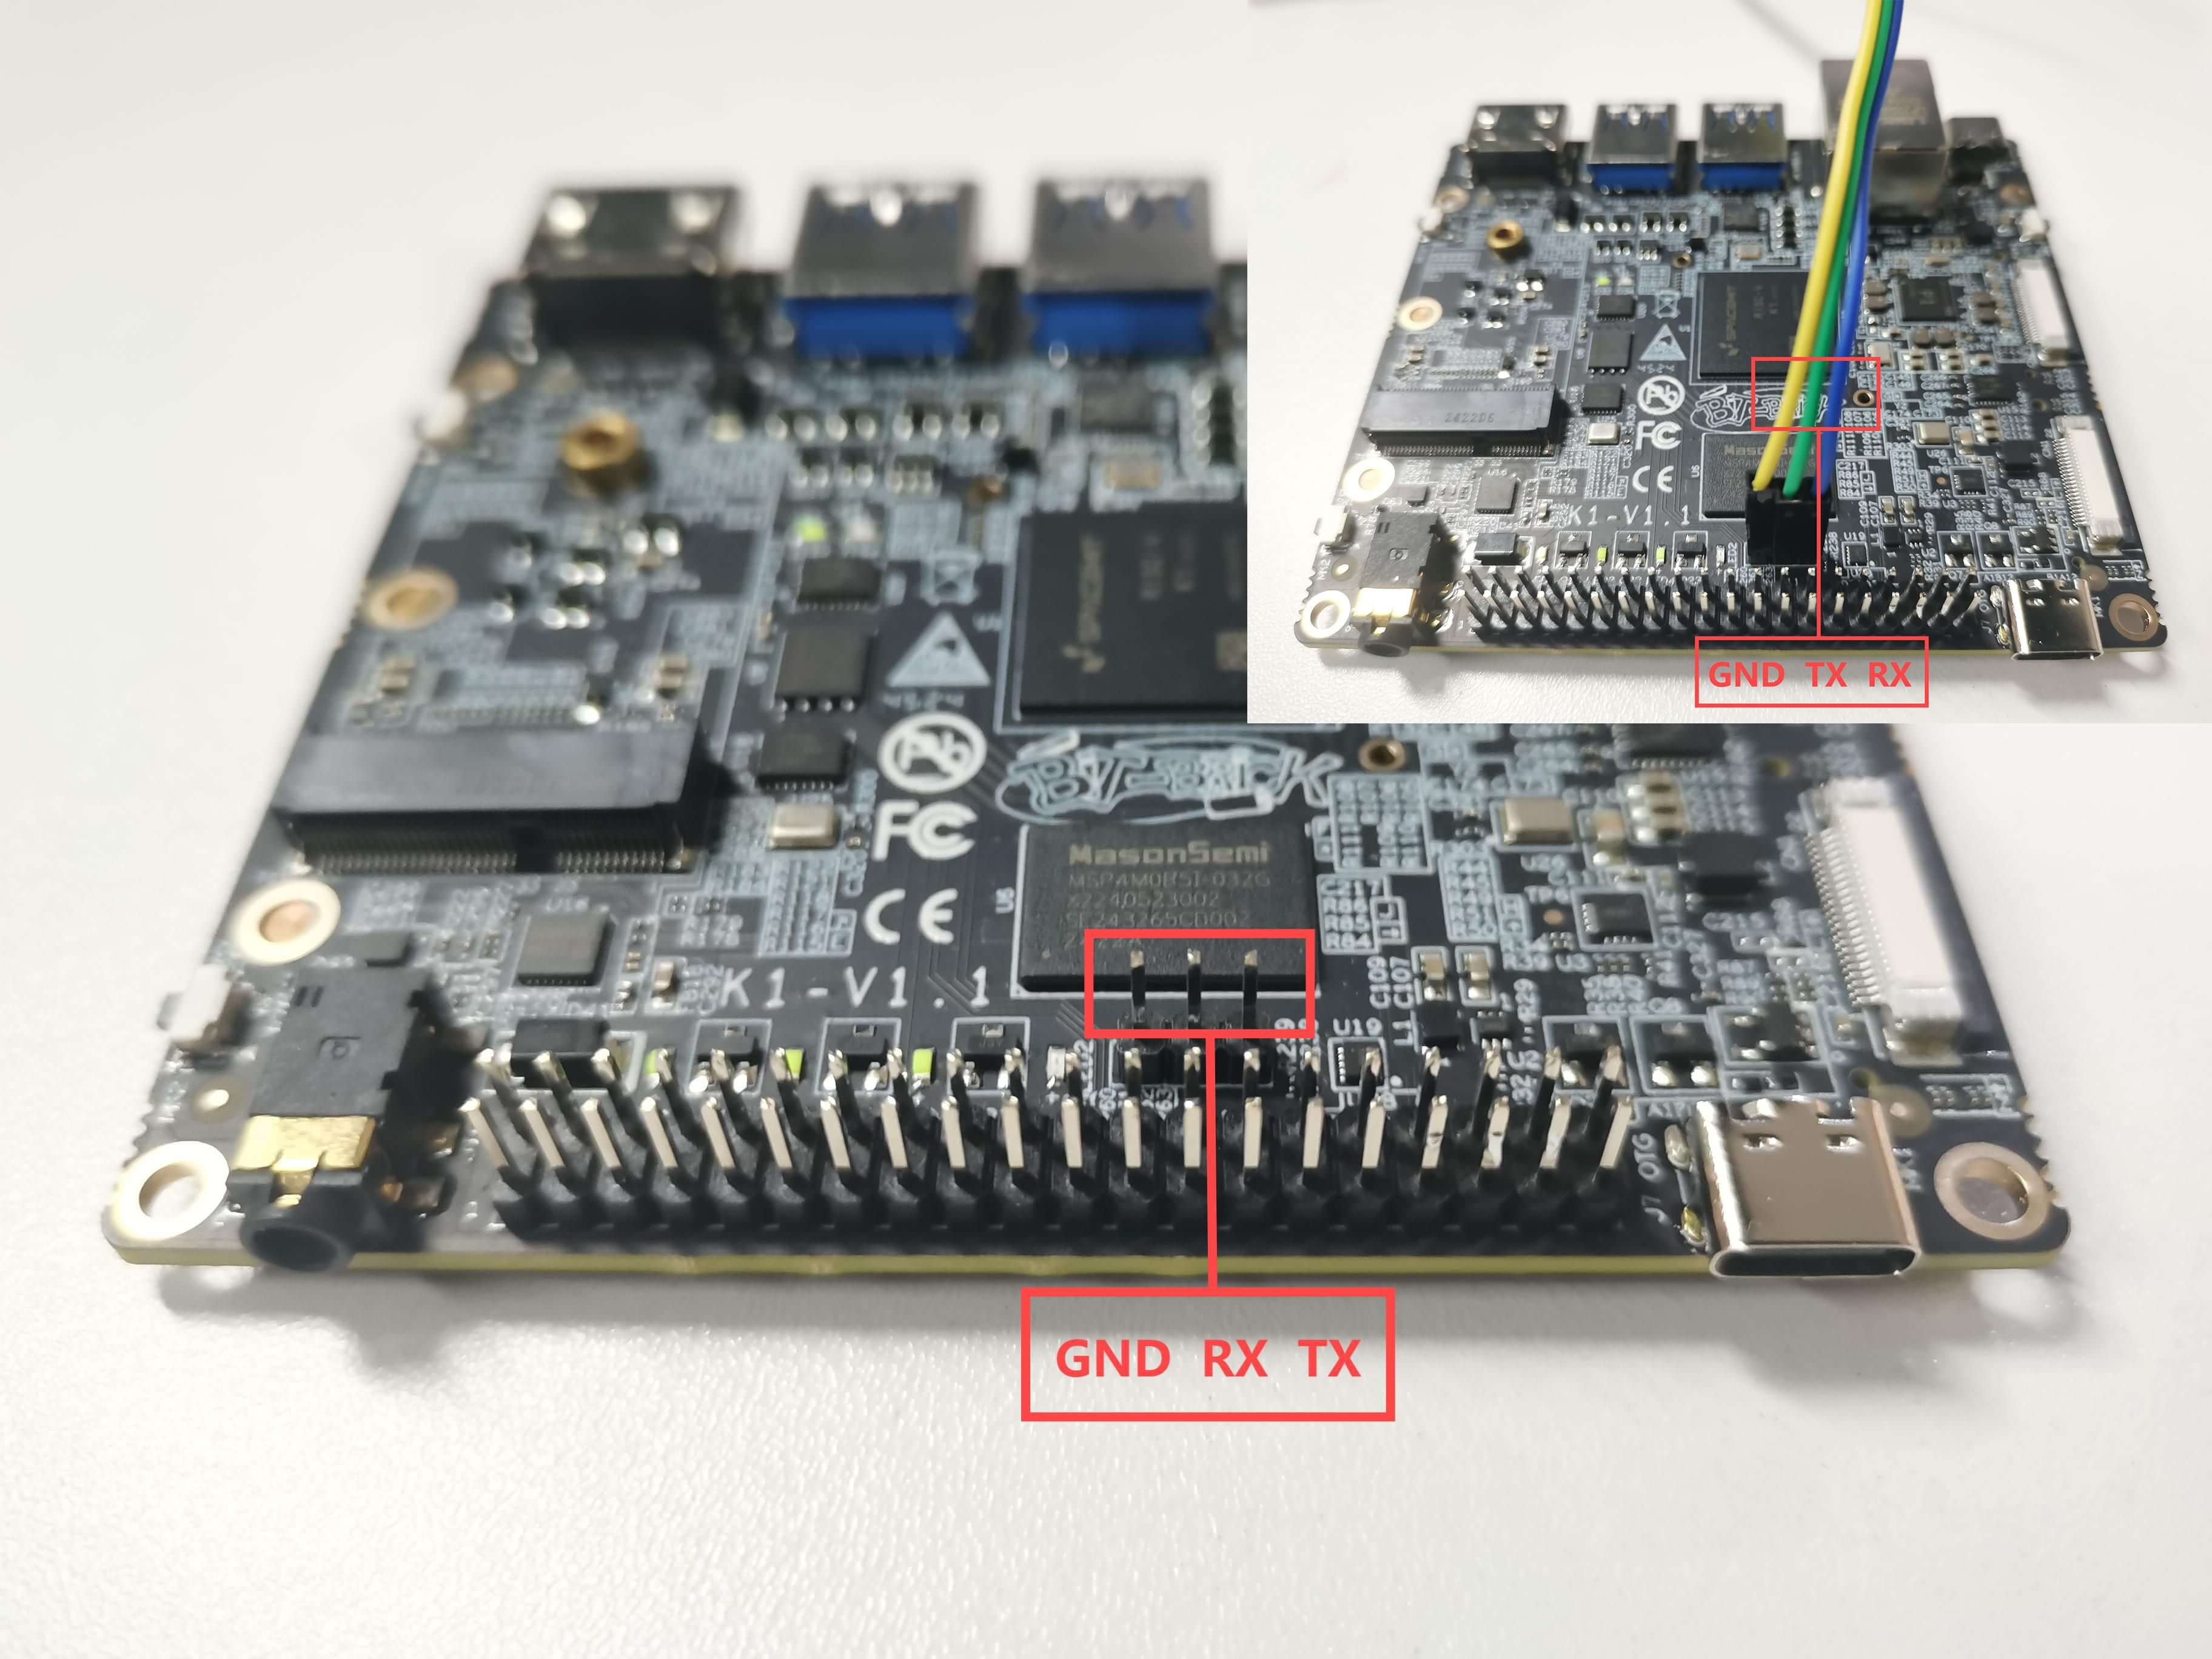
The connection method with the motherboard is as follows: Baud rate: 115200
After these are prepared, we will start the steps to prepare for installing the operating system.