
Starting and Configuring K1
1. Starting the System
After burning the firmware to the Micro SD card, we insert the card into the card slot on the K1 motherboard, and connect the display, mouse, and keyboard:
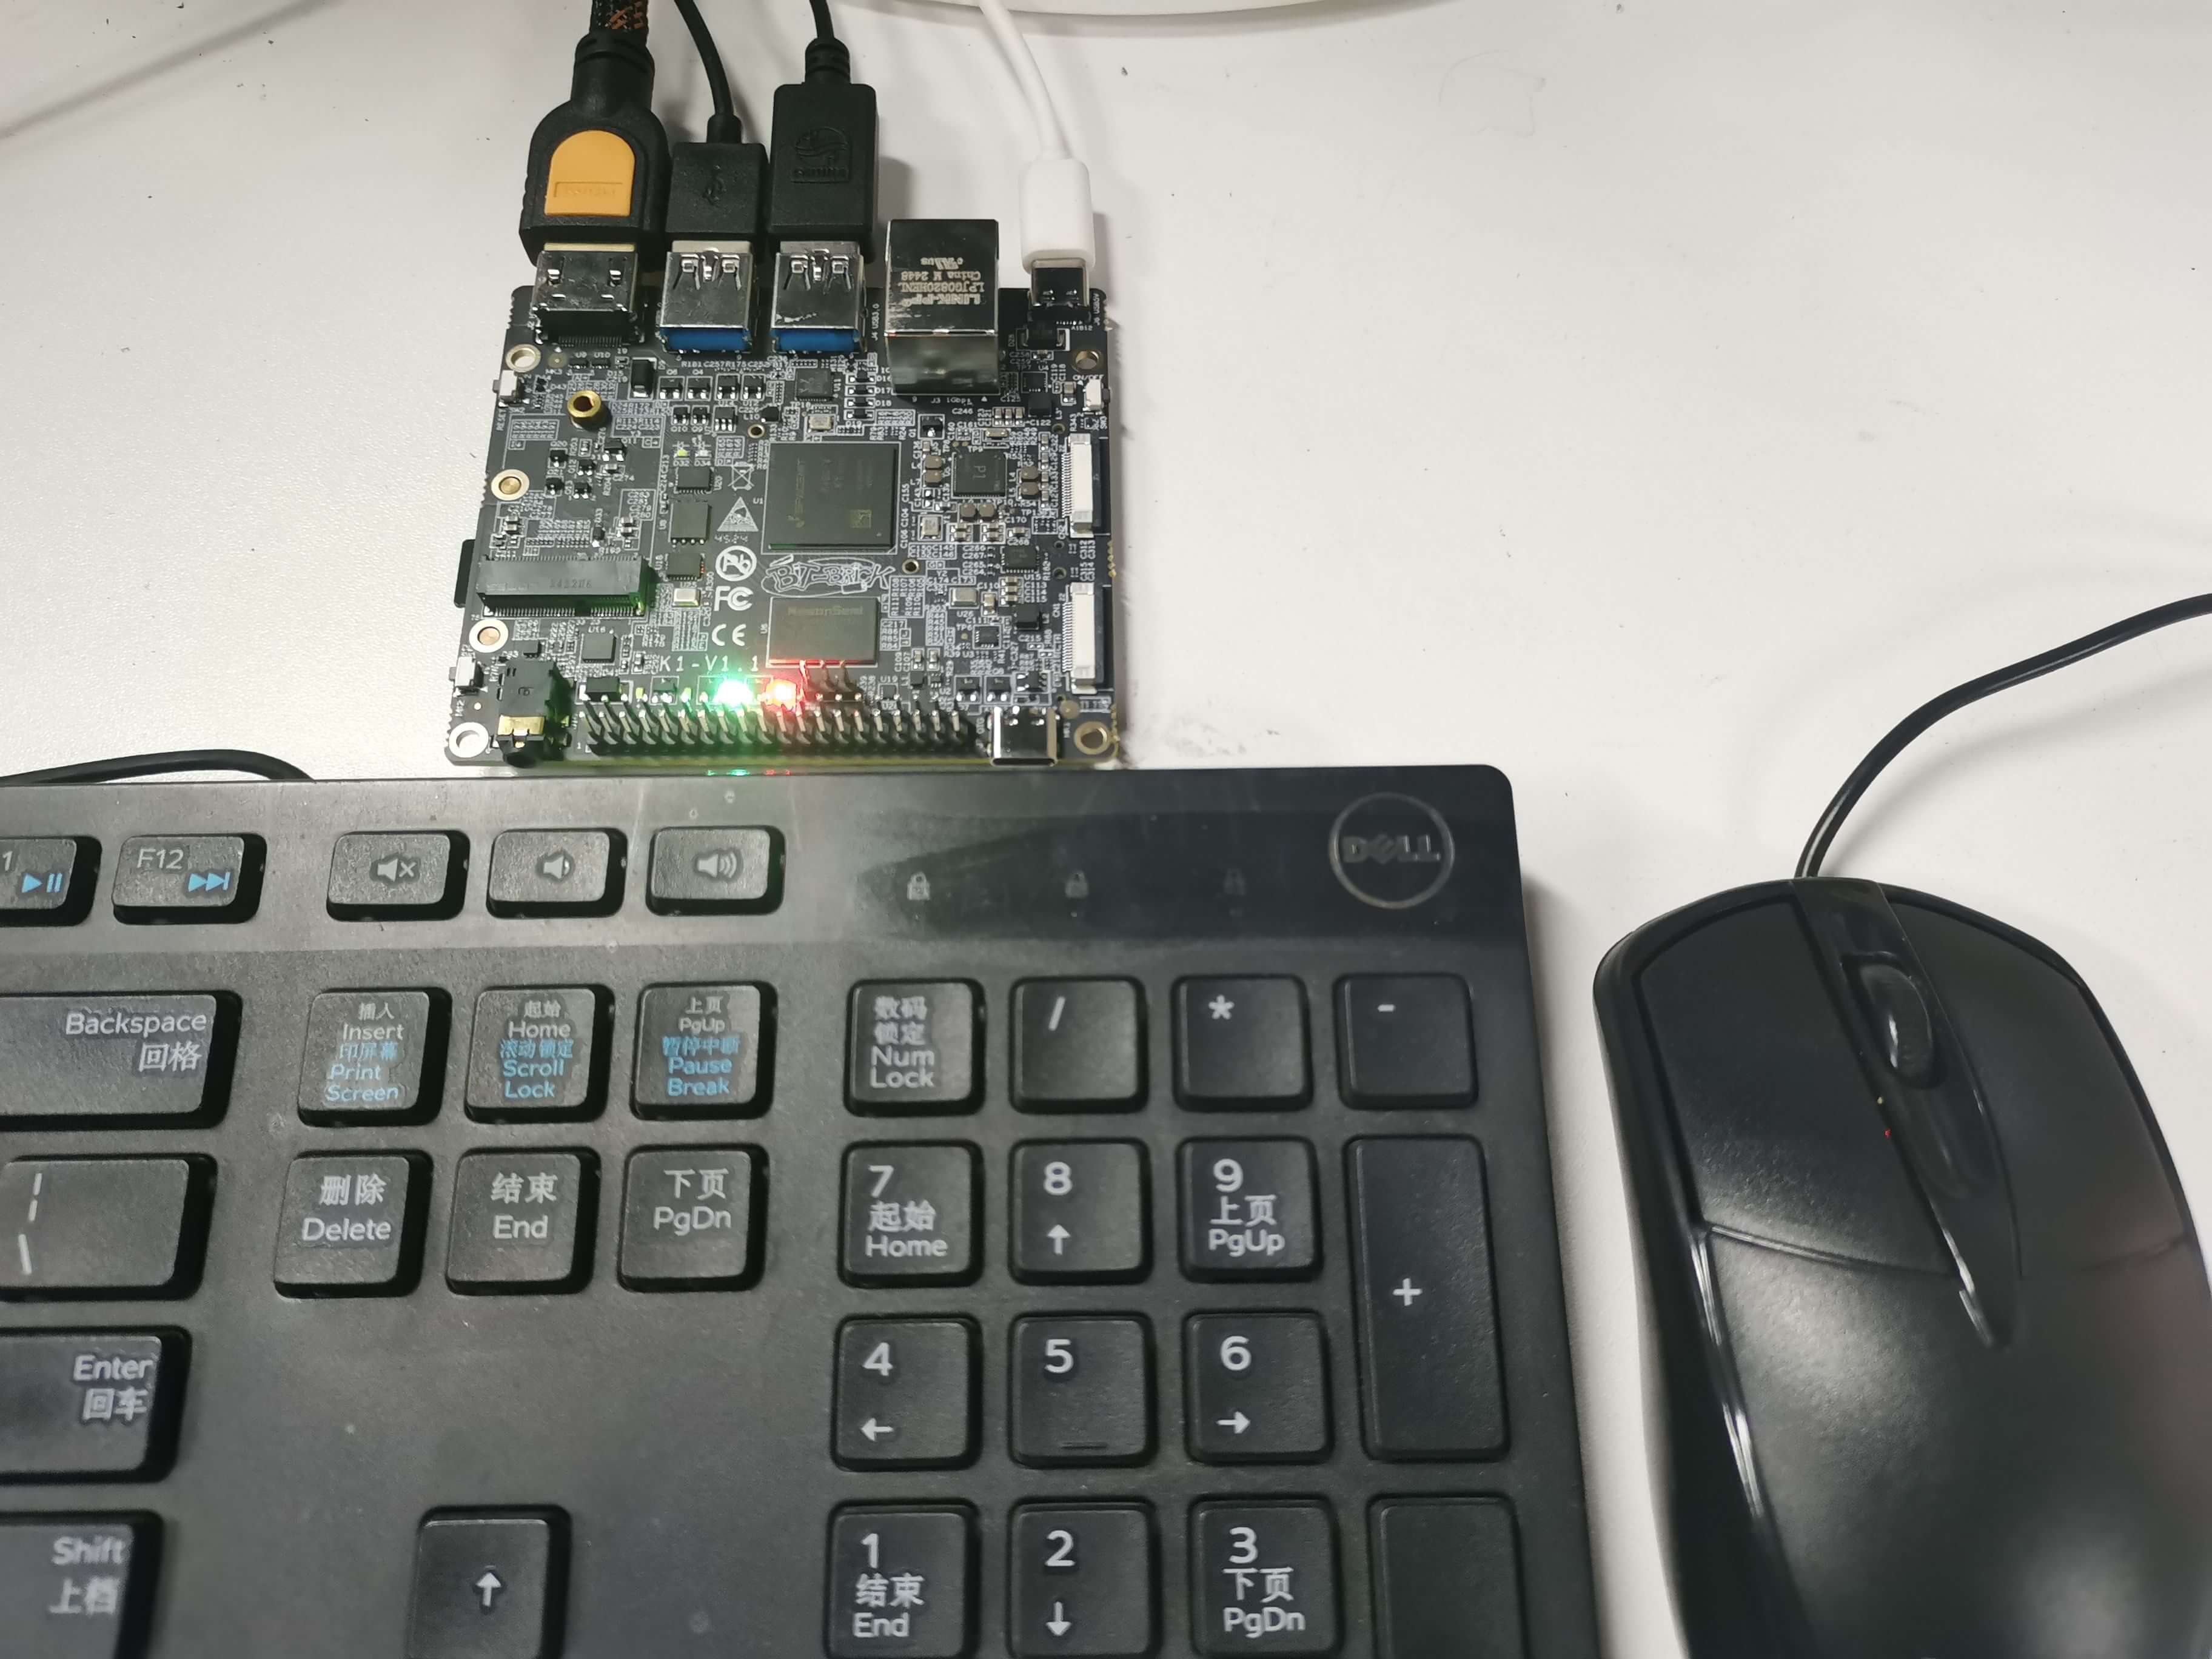
Then plug in the power supply, wait for one minute, the Bianbu startup interface will appear on the display, enter the username and password you set, and you will see the common desktop system.
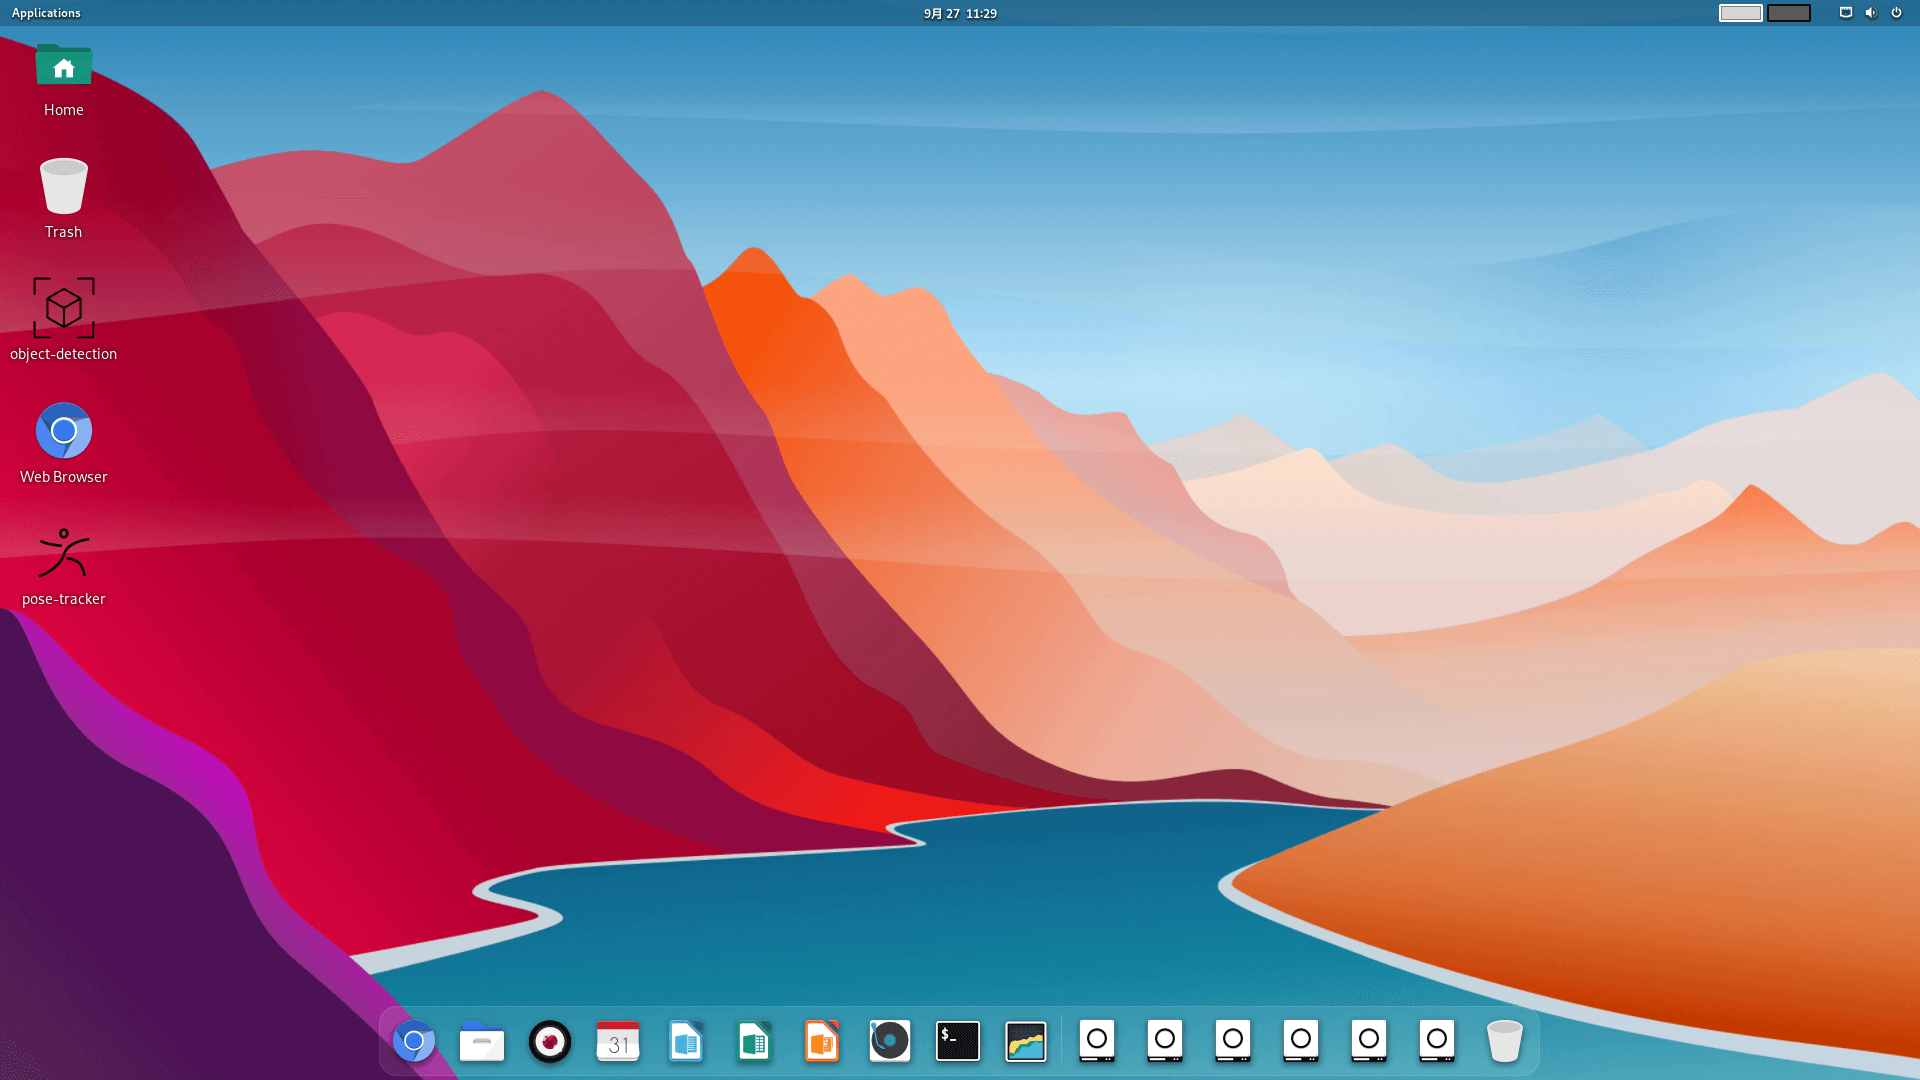
At this point, the system is running normally.
2. Configuring Bianbu
After entering the bianbu operating system for the first time, we need to modify the partition size of the device first, because at this time, the root partition is relatively small, and much of the space of the Micro SD card is not effectively utilized. So the following steps will show how to modify the size of the root partition.
1) Open the Disk Utility

After opening, the interface is as follows:
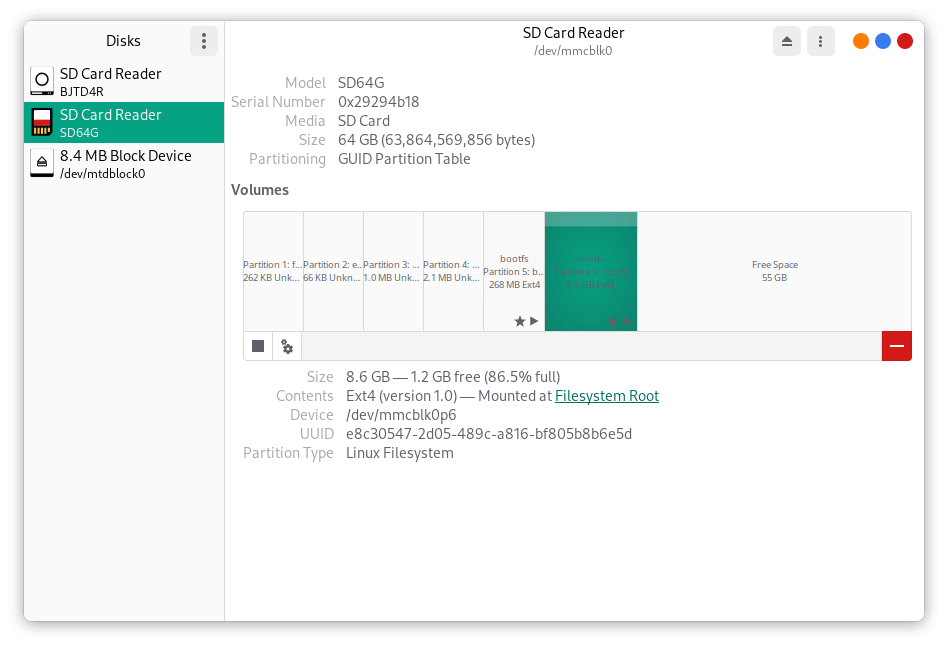
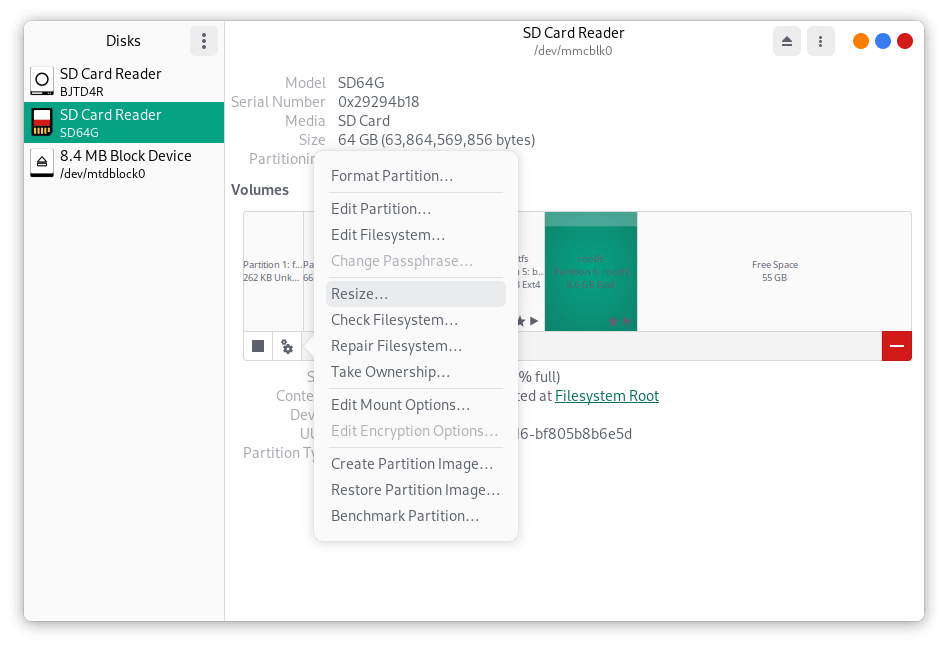
2) Changing the Partition Size
After opening the Disk Utility, you can select the TF card, and then you can see the usage of the TF card capacity. The above picture shows the situation of the TF card after burning the Linux desktop version system. It can be seen that although the total capacity of the TF card is 64GB (shown as 29.72GiB in GParted), the rootfs partition is actually only allocated 8.81GiB. We allocate the remaining space to the rootfs partition. Select the partition, right-click and choose resize, adjust it to the size you want, and execute it.

Now you can enjoy the bianbu os!!